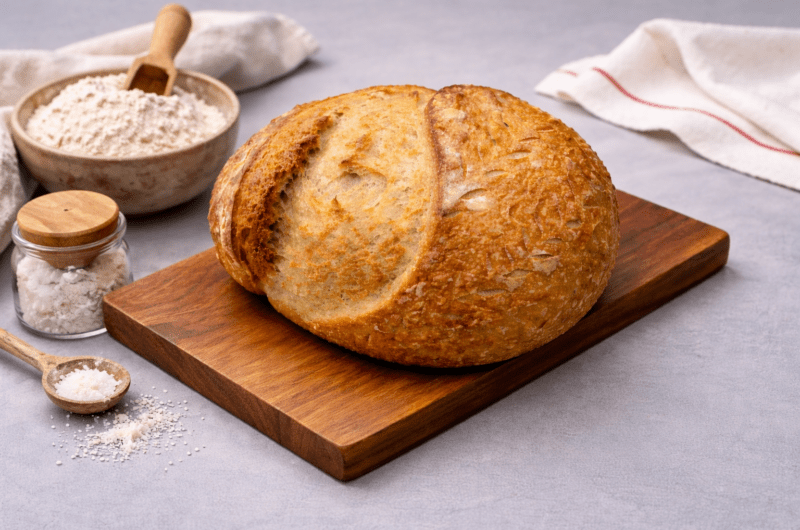
There is something deeply satisfying about making sourdough from scratch — from nurturing a wild starter to pulling a golden, crackly loaf out of the oven.
Sourdough is not just bread. It’s patience, fermentation, science, and craft coming together in one loaf.
In this step-by-step guide, I’m walking you through exactly how I make sourdough at home — from mixing the dough all the way to shaping, cold proofing, and baking — along with beginner tips, scaling formulas, fermentation signs, and how to make your own starter from scratch.
If you’ve ever felt intimidated by sourdough, this guide will simplify the entire process.
What Is Sourdough Bread?
Sourdough is naturally leavened bread made using wild yeast and bacteria cultivated in a sourdough starter instead of commercial yeast.
This natural fermentation develops flavor, improves digestibility, creates a chewy crumb and crisp crust, and extends shelf life.
Basic Sourdough Bread Recipe
This beginner-friendly formula produces a balanced crumb and manageable dough hydration. It’s the perfect base loaf before experimenting with inclusions or higher hydration doughs.
Step-by-Step Sourdough Method
Step 1 — Mix Starter and Water
Begin by measuring your active sourdough starter and mixing it with water until fully dissolved.
This evenly distributes the wild yeast throughout the dough, ensuring consistent fermentation.
Step 2 — Add Flour and Salt
Add bread flour and salt and mix until a shaggy dough forms.
At this stage, the dough will look rough and messy — that is completely normal.
Step 3 — Rest (Hydration Phase)
Cover the dough and let it rest for 30 minutes.
This allows the flour to fully absorb water and gives gluten strands time to begin forming naturally.
Step 4 — Stretch and Folds
Perform four sets of stretch and folds spaced 30 minutes apart.
Each fold strengthens gluten without kneading and helps trap fermentation gases.
Step 5 — Coil Folds
Perform two coil folds spaced 30 minutes apart until the dough becomes smooth and elastic.
Why Folding Is Important
Folding builds gluten strength, redistributes yeast, equalizes temperature, and improves oven spring.
Step 6 — Bulk Fermentation
Leave the dough undisturbed to bulk ferment for 4 to 8 hours depending on kitchen temperature.
Signs of Correct Bulk Fermentation
40–60% rise, bubbles along the sides, slight dome on top, gentle jiggle, and dough pulling clean from the bowl.
Signs of Under-Fermentation
Dense dough, minimal bubbles, tight crumb, poor rise.
Signs of Over-Fermentation
Excessive jiggle, collapse, spreading dough, overly sour smell.
Step 7 — Divide and Shape
Divide dough and shape using a tuck-and-drag motion to build surface tension.
Step 8 — Cold Proof
Place seam-side up into a floured banneton or cloth-lined bowl and refrigerate overnight.
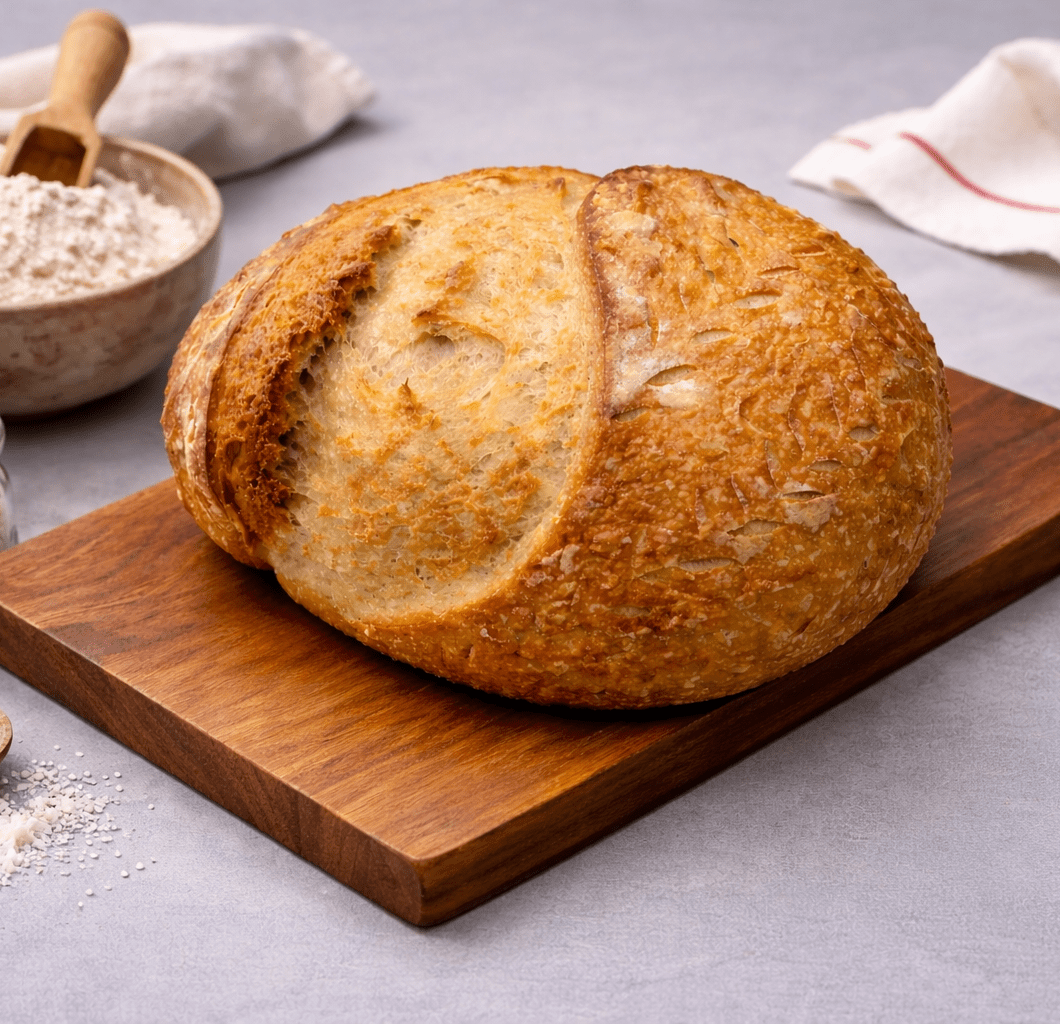
Step 9 — Score and Bake
Score and bake in a preheated Dutch oven with steam for optimal oven spring.
How to Scale Dough for Multiple Loaves
Multiply the base formula using baker’s percentages:
Starter 20%
Water 65%
Salt 2%
Beginner Mistakes to Avoid
Inactive starter, rushed bulk, overproofing, excess flour, underheated Dutch oven, slicing hot bread.
Patience — The Key Ingredient
Sourdough fermentation works on its own schedule. Learning to read dough instead of the clock is essential.
How to Make a Sourdough Starter from Scratch (Step-by-Step)
Making a sourdough starter is the first step in sourdough baking. This is where wild yeast is cultivated to naturally leaven bread.
While many guides say a starter is ready in 7 days, that timeline varies widely. My own starter took over three weeks to become fully active — and that’s completely normal.
Temperature, flour type, and feeding consistency all affect how quickly your starter develops.
Starter Ingredients
50 grams flour
50 grams water
Use unbleached flour and filtered water for best results.
Day-by-Day Starter Method
Day 1
Mix 50 g flour and 50 g water in a jar. Stir well, cover loosely, and leave at room temperature.
Day 2
You may see small bubbles. Discard half and feed 50 g flour and 50 g water.
Day 3
Bubbles increase. Discard half and feed again.
Days 4–7
Starter may rise and fall unpredictably. Continue daily discard and feeds.
This is microbial balancing — completely normal.
Week 2
Starter smell improves and bubbles become more consistent, though rise may still be slow.
Week 3+
Starter becomes reliable, doubling within 4–6 hours after feeding.
This is when it’s strong enough to bake with.
Signs Your Starter Is Ready
Doubles within 4–6 hours
Bubbles throughout
Pleasant tangy smell
Passes float test at peak
Temperature Matters
Ideal range is 72–78°F.
Cool kitchens slow development. You can place the starter in the oven with the light on or near a warm appliance to help activity.
Patience at this stage builds a stronger, more resilient starter.
Storage and Shelf Life
Store bread wrapped in cloth at room temperature for 2–3 days or freeze sliced.
How to Make Sourdough Bread at Home (Step-by-Step Beginner Guide)
6
servings2
hours50
minutes140
kcalA beginner-friendly sourdough bread made with wild yeast, featuring a crisp golden crust and soft, airy crumb. Perfect for sandwiches, toast, or everyday baking.
Ingredients
500 grams 500 bread flour
325 grams 325 water
100 grams 100 active sourdough starter
10 grams 10 salt
Directions
- Mix starter with water until dissolved.
- Add flour and salt and mix into a shaggy dough. Rest 30 minutes.
- Perform four stretch and folds 30 minutes apart followed by two coil folds.
- Bulk ferment 4 to 8 hours until 40–60% rise.
- Shape, place into a floured banneton, and refrigerate overnight.
- Score and bake in a preheated Dutch oven at 450°F for 20 minutes covered and 20 to 25 minutes uncovered.


)